You don’t need architraves to install roller blinds. Just pretend you do.
So, you need new roller blinds, and to maximise the blockout result you want to outside-mount them. But wait! You have square-set windows with no architraves. Whatever will you do?
The trick to measuring for an outside-mounted roller blind when you have no architraves is to pretend you do. It’s that simple. Let me explain
Measuring the width
A single roller blind bracket needs at least 20mm of flat surface to be mounted safely, so what we like to do is place a piece of masking tape on the plaster at least 20mm from where the window starts on each side. Stand back and take a look. “Hmmmm” you say, “I’d like it to be further out.” That’s ok, just move the tape.
When you order with us, the width you provide is the bracket-to-bracket measurement and the fabric always starts anywhere from 15mm to 18mm inside the brackets on each side.
So knowing this, you could for example measure the window opening, and add an extra 30mm to each side. Then come installation time, you will have approximately 15mm of fabric overlapping the window on each side.
However – there is one critical piece of advice to remember here …
When measuring your width, choosing 30mm on either side is all well and good, but you need to ensure that there are timber studs at this location. Your blind brackets must be installed into timber studs for support—not just screwed into the plasterboard. Therefore, when calculating your blind width, locate your studs with a stud finder prior to taking your measurements. This will give you the best, and safest, end result once you come to install it.
Measuring the drop
Your drop (the height of your blind) is simply the distance between where you want the roller blind to start, to where you want the bottom rail to sit when the blind is down. Keep in mind you can add a little more to the drop if you want to be safe but you cannot make a blind longer after it has been manufactured.
Choosing the roll direction
An outside-mounted roller blind is always best made in the back-rolled position. Not sure what this means? A back-roll will roll towards the wall or window and drop down from underneath, close to the wall or window surface. If it’s front rolled, it will roll from the top over the front (find info on this in our Product Specifications here).
The reason we use a back-roll position for an outside-mounted roller blind is to bring the fabric closer to the window opening, reducing the light gaps and increasing the insulation benefits. This does leave the roll visible though and not everyone likes that look. Not to worry, you can add a Pelmet 95 and this will hide the visible roll. The pelmet works particularly well with square set windows as it frames the window where the architrave normally would.
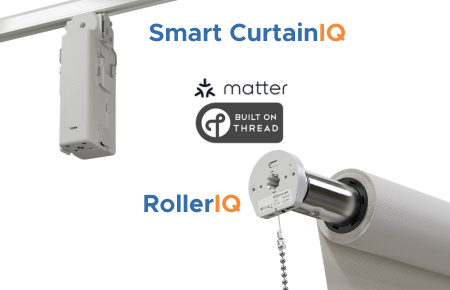
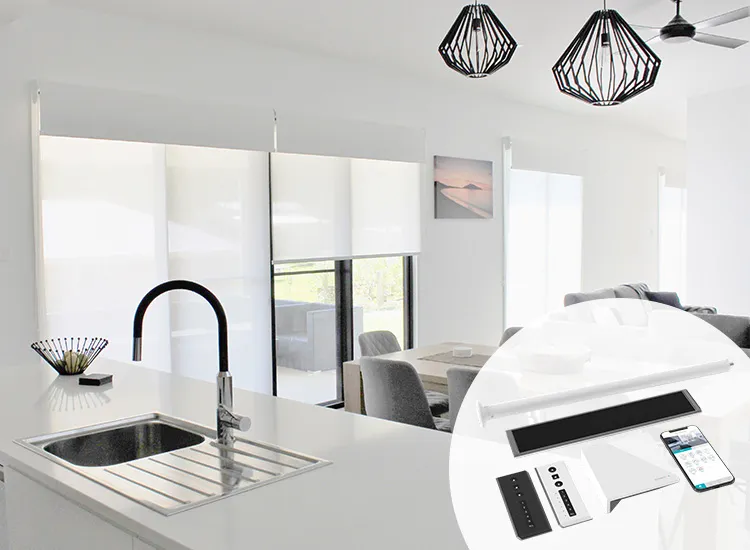
Motorise your roller blinds
Motorisation is the cherry on top of your gorgeous clean-lined windows! There will be no chains hanging down, keeping your square-set windows nice and neat. At the touch of a button, all of your blinds can raise up or come down, or you can connect them to your home automation system and operate them via voice control.
Remembering these top tips will make measuring and installing your blinds that much easier:
Always use a steel tape measurer for accuracy. Make sure the tape measure is straight and tight when you take your measurements.
Always measure in millimetres (mm).
Remember to locate your studs, and measure from their location for a secure installation.
All blinds over 1800 mm wide should be ordered with a spring assist (for chain-driven operation). This will ensure your blinds glide smoothly up and down with minimal effort and will limit wear and tear on the components.
Consider finishing off your blind with a Pelmet 95. Not only will it look great, but it will also hide the tube, and stop dust from collecting on top of the blind.
What next?
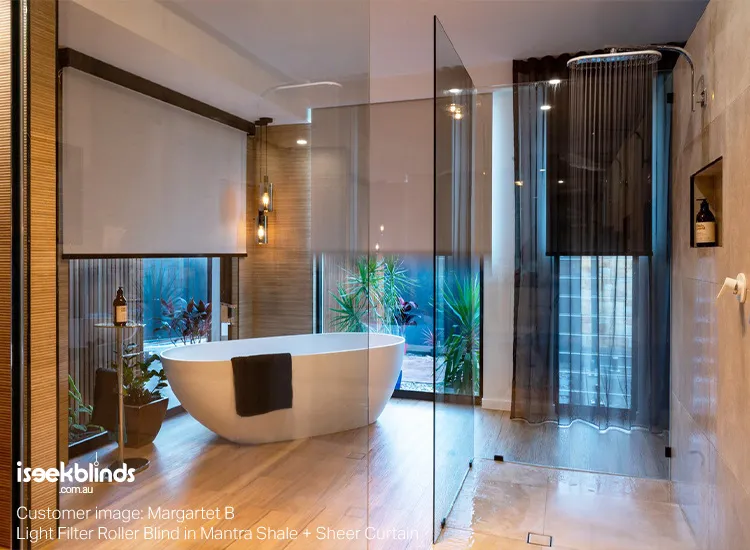
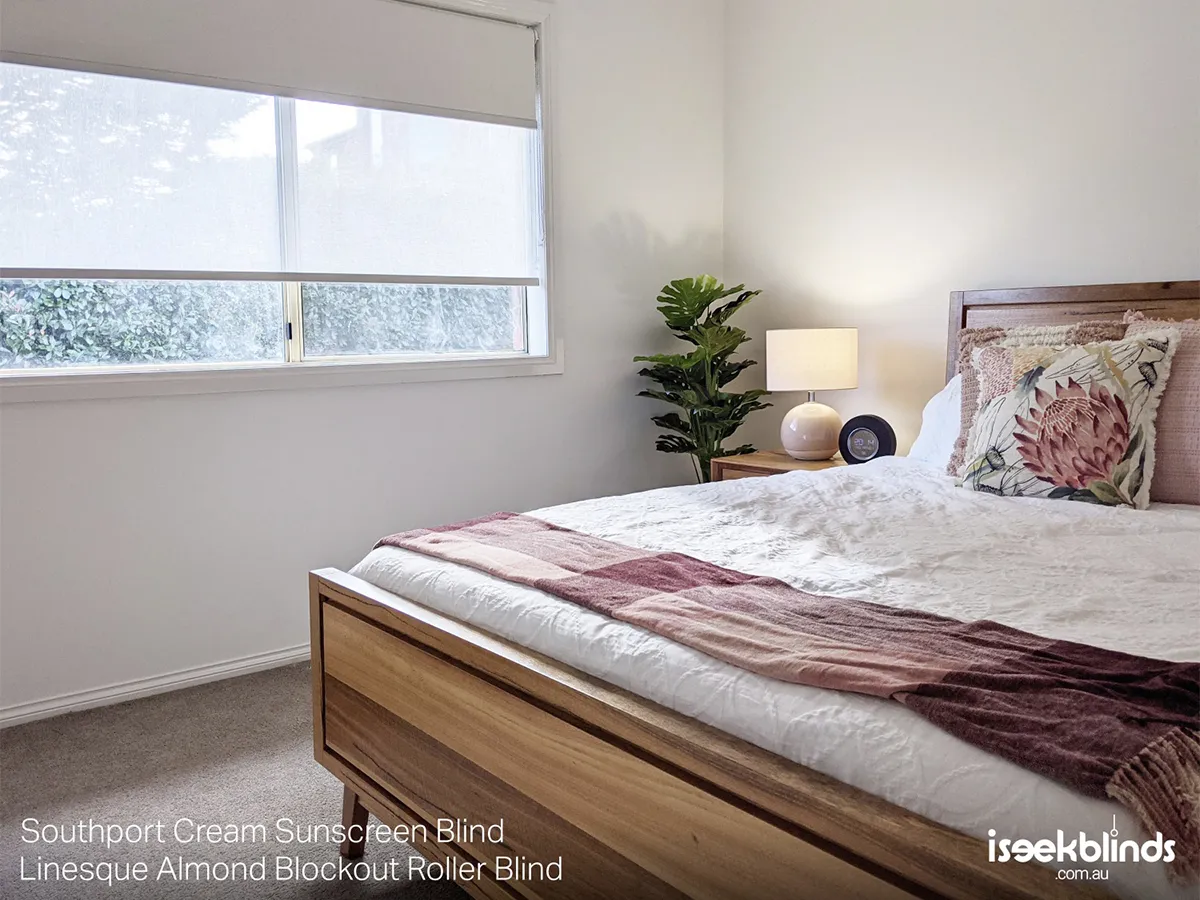
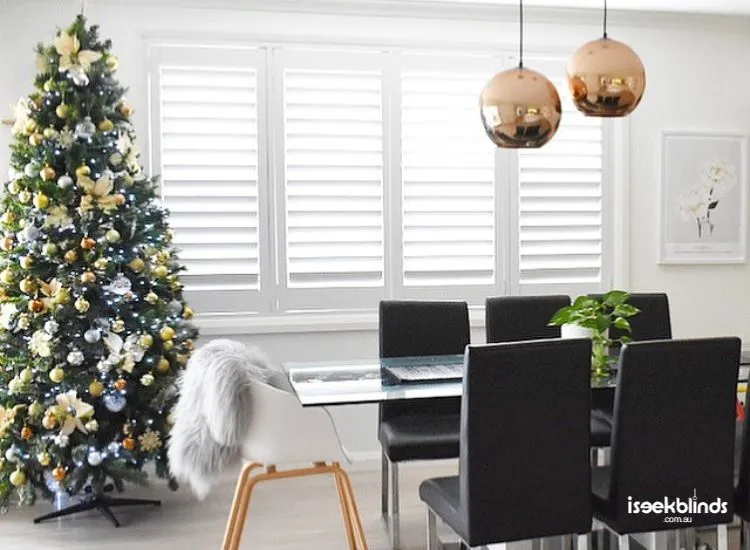
If you’re in need of some inspiration, visit our gallery or Instagram page for ideas and real-life photos from our customers. Once you’ve decided which product you prefer, make use of our free fabric samples. They will allow you to see and feel the fabrics before selecting the one you like best.
So, if you’ve got a home that could benefit from a refresh, let us help you! The DIY process is easy to follow, and it will make a world of difference to your home, we promise.