Installing your own custom made curtains will give you the flexibility to choose the exact result and achieve the ambience you desire for every room in your home. Plus, it’s one of the easiest ways to give any room a fresh look and feel!
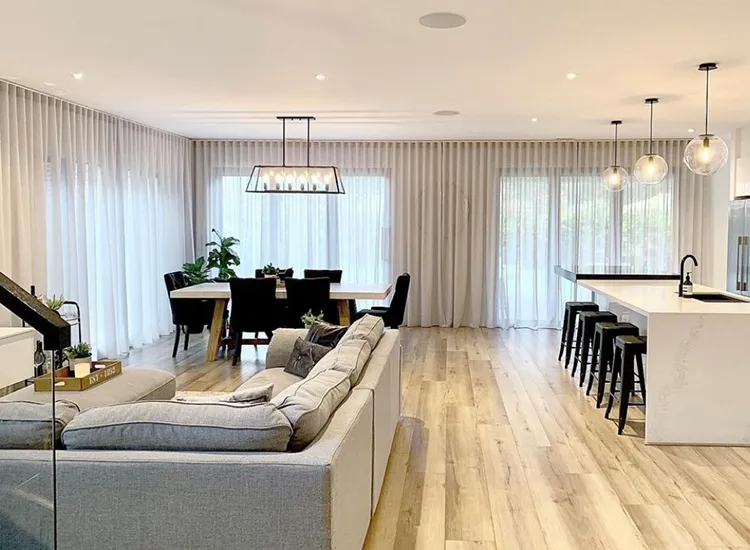
Adding sheer curtains provides privacy during the daytime and gives a sense of softness to your bedrooms and living areas. Sheer curtains add elegance and soft touches to rooms where you might use roller blinds at night time.
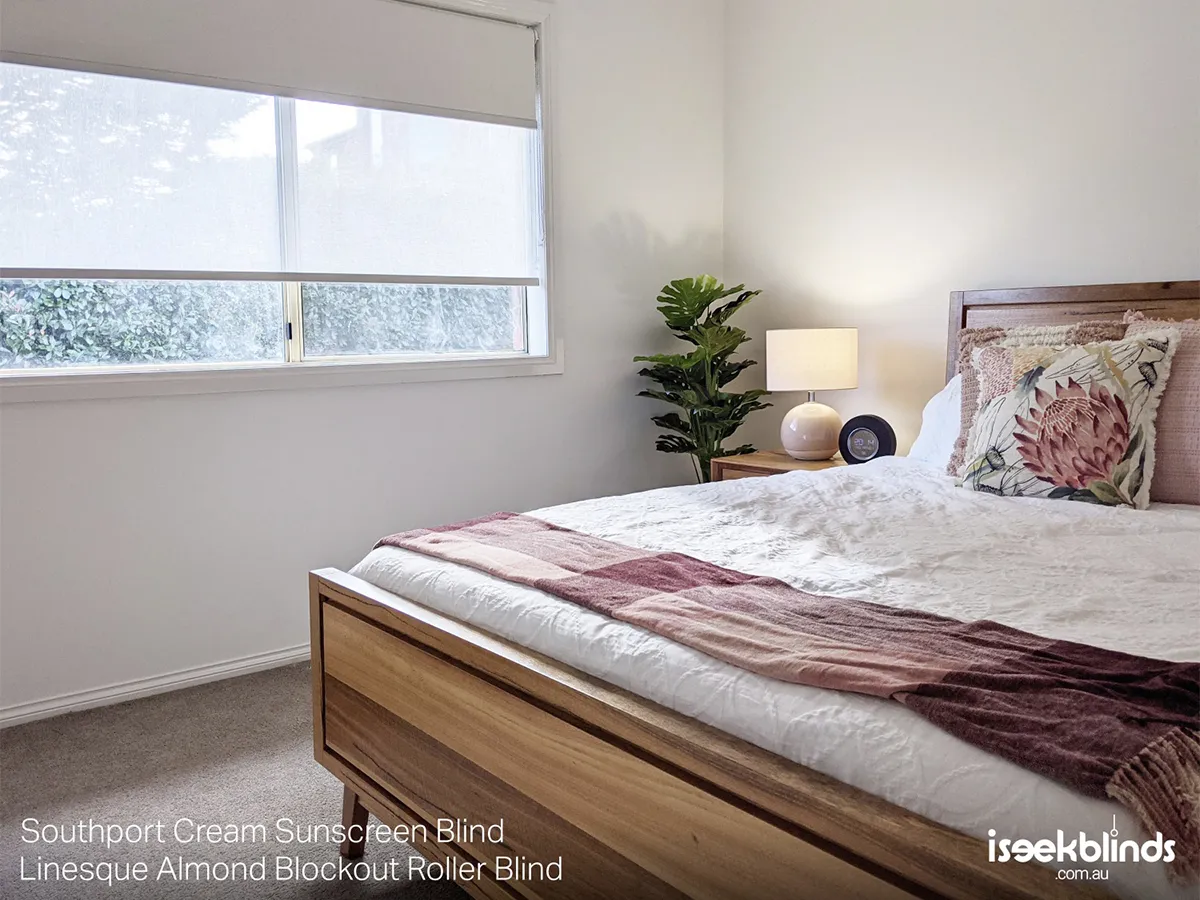
If you are looking for options to block out the cold of winter, then blackout curtains or thick fabrics are suitable. Blackout curtains are also ideal for shift workers or anyone needing to rest in darkness during daylight hours.
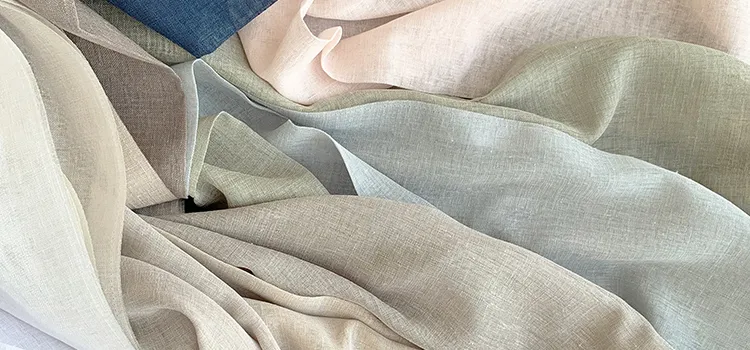
Want to give your home grace with the right set of curtains? iSeekBlinds have a range of curtain fabrics and custom-made curtains you can hang with a perfect fit.
You can either source your own fabric and sew your own curtain, or better still, order your custom-made curtains from us and install them yourself — it all depends on your DIY confidence!
Once you’ve selected the fabric for the curtains, you’re ready to measure your window space. Using these measurements, you will calculate the final curtain size.
How to measure if you’re making your own curtains.
Whether you are installing sheer curtains, blackout curtains or thick curtains to darken a room, you can take the measurements yourself to ensure that you get the result you desire.
Grab a tape measure to get started! The steps below can guide you, or you can watch our How to Measure videos on our website here, or on our YouTube channel for specific instructions on our Australian-made, custom curtains.
Step 1: Measure the finished curtain width
If you’re sewing your own curtains, the width of the curtains will be determined by:
Window size
The mounting position of the curtain tracks
Desired fullness of the curtains
Where the curtains will open
The final width of the curtains will usually be the length of the curtain tracks or rod.
Step 2: Decide on curtain fullness and style
Generally speaking, fuller curtains will be more luxurious and suit most living areas. For kids’ bedrooms, you might use a less full curtain.
If sewing yourself, it’s better to get more fabric than you think you’ll need than to end up with inadequate curtains, so err on the side of generosity if you are unsure. For a fuller curtain, the fabric width you’ll need is 2.5 times the finished curtain width. For a less full curtain, it’s 1.5 times the finished curtain width.
An S-fold curtain style is the most common style for both sheer and blackout curtains and the one that we make here at iSeekBlinds.
Step 3: Decide where the curtains open
For narrower windows, a single panel of fabric will cover the window. Broader windows may benefit from curtains with multiple panels. Panels allow the curtains to open for access to the window.
Curtains don’t have to open at the centre of the window. An asymmetric split may suit the window better.
Make sure that you include the split position in your curtain measurements when you place an order.
Step 4: Decide your curtain drop effect
When sewing your own curtains, the total curtain fabric length depends on whether you intend to hem the curtain, how large the hem will be, and the drop effect.
The curtain drop effect describes how the curtain interacts surface below, usually the floor or window sill. There are three common drop styles:
Hover is where the curtain hovers just above the surface below. This style is ideal for kitchens and other high-traffic utility areas. TIP: For hover-style curtains, measure down to the floor.
Just touching curtains brush against the floor or surface. This style is modern, elegant and tasteful. TIP: For curtains that barely touch, measure approximately 10mm more than the floor length.
‘Breaking’ gently is a luxurious drop style where curtains have more length, adding a sense of grandeur. This style suits a master bedroom or formal living room. TIP: For curtains that break gently onto the floor, measure 30-50mm extra in addition to the drop to the floor
Step 5: Measure curtain height
When measuring the curtain height, you must include the distance to the top of the curtain track. Measure from the top of the curtain track or rail to the place where the curtains will finish.
When measuring curtains for a new or renovated home, ensure the floor coverings are in place before measuring the curtain drop.
For curtains that hang within the window frame, allow about 10mm for the finished length above the windowsill. Remember to allow enough fabric length to hem the curtains if that is the final look you want.
Curtains that hang below the window but don’t reach the floor will generally fall about 100mm below the base of the window.
TIP: Mounting the curtain track above the window space creates a sense of height and adds an expansive feel to any room
Step 6: Allow for pattern repetition
When hanging adjacent curtain panels — for broad windows in particular — you’ll want any pattern on the fabric to align between each fabric section.
To ensure alignment of the pattern in each curtain, you will need to know the pattern height. If you are buying the fabric online, the pattern height should be in the fabric product information.
Ensure that the total height of the curtain fabric is a multiple of the pattern height. To do this, round up your curtain height measurement to a multiple of the pattern height.
You won’t need this step if you are mounting curtains with a plain fabric.
What next?
If you’re in need of some inspiration, visit our gallery or Instagram page for ideas and real-life photos from our customers. Once you’ve decided which product you prefer, make use of our free fabric samples. They will allow you to see and feel the fabrics before selecting the one you like best.
So, if you’ve got a home that could benefit from a refresh, let us help you! The DIY process is easy to follow, and it will make a world of difference to your home, we promise.
We answer the most common questions about Sheer Curtains.
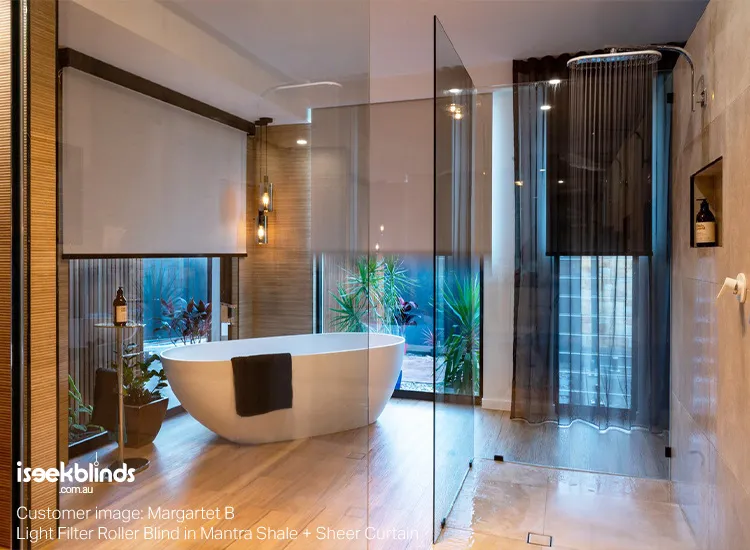
Sheer curtains, also known simply as sheers, are still one of the most popular window treatments around. These lightweight beauties could be considered the perfect window covering for many reasons. Not only do they offer daytime privacy, diffuse bright light and offer a degree of insulation against heat and cold, but they do it all at the same time as softening rooms with their floaty, textural appearance. They’re also ideal for layering, partnering perfectly with blockout roller blinds and plantation shutters.
So, what do you need to know about sheer curtains before you jump head-on into installing them? We cover the most common questions below, plus give you the heads up on how we can help you achieve a beautiful result.
Can you see through sheer curtains?
The majority of sheer curtain fabrics will allow you to see through them to the outside, enabling you to retain your view. At the same time, they offer a level of daytime privacy, shielding you and your space from the outside world.
However, at night, these benefits are reduced so we suggest adding another layer of window covering to provide you with additional privacy options, such as blockout roller blinds or plantation shutters.
Do sheer curtains block out the sun?
Sheer curtains act like a diffuser, softening natural light and reducing the glare associated with direct sunlight. They will help protect your interior from UV rays, reducing the risk of fading and sun damage to furniture, flooring and soft furnishings.
They also provide some insulation benefits – assisting in reducing the amount of heat entering your room – a definite plus during the hot Australian summer. During winter they will help keep the cold at bay as well, though we suggest adding another layer of protection to really protect you from the cooler temperatures outside.
How do I measure for sheer curtains?
Measuring for sheer curtains is a simple process once you know exactly what you want to achieve with your sheers. At iSeekBlinds, we are all about educating our customers on how to measure and install their own window coverings, so our website is full of valuable resources that are easy to follow and understand. Our owner and resident DIY expert Mike has created a series of videos taking you step-by-step through the process – so grab your measuring tape, head to our video gallery and away you go!
How much do sheer curtains cost?
The average cost for sheer curtains can vary based on the provider you choose, the fabric you select and of course, whether you opt for a custom-made or an off-the-shelf product. For the best results, we recommend opting for custom-made sheers in quality fabric from a reputable supplier.
If you’re on a budget but still want a beautiful quality finish, then consider going down the DIY track with us. You can save a bunch by measuring, ordering and installing yourselves with a little help from businesses such as ours. Whilst it may seem daunting at first, we promise you it is easy and very rewarding
What next?
So, now that you’ve decided that sheers are definitely for you, where do you go from here? How do you start the ball rolling and ensure those dreams of having beautiful sheers in your home come true? Just reach out to us. We’d love to help you achieve an outcome you’ll be proud of for years to come.
If you’re in need of some inspiration, visit our gallery or Instagram page for ideas and real-life photos from our customers. Once you’ve decided which product you prefer, make use of our free fabric samples. They will allow you to see and feel the fabrics before selecting the one you like best.
So, if you’ve got a home that could benefit from a refresh, let us help you! The DIY process is easy to follow, and it will make a world of difference to your home, we promise.
You don’t need architraves to install roller blinds. Just pretend you do.
So, you need new roller blinds, and to maximise the blockout result you want to outside-mount them. But wait! You have square-set windows with no architraves. Whatever will you do?
The trick to measuring for an outside-mounted roller blind when you have no architraves is to pretend you do. It’s that simple. Let me explain
Measuring the width
A single roller blind bracket needs at least 20mm of flat surface to be mounted safely, so what we like to do is place a piece of masking tape on the plaster at least 20mm from where the window starts on each side. Stand back and take a look. “Hmmmm” you say, “I’d like it to be further out.” That’s ok, just move the tape.
When you order with us, the width you provide is the bracket-to-bracket measurement and the fabric always starts anywhere from 15mm to 18mm inside the brackets on each side.
So knowing this, you could for example measure the window opening, and add an extra 30mm to each side. Then come installation time, you will have approximately 15mm of fabric overlapping the window on each side.
However – there is one critical piece of advice to remember here …
When measuring your width, choosing 30mm on either side is all well and good, but you need to ensure that there are timber studs at this location. Your blind brackets must be installed into timber studs for support—not just screwed into the plasterboard. Therefore, when calculating your blind width, locate your studs with a stud finder prior to taking your measurements. This will give you the best, and safest, end result once you come to install it.
Measuring the drop
Your drop (the height of your blind) is simply the distance between where you want the roller blind to start, to where you want the bottom rail to sit when the blind is down. Keep in mind you can add a little more to the drop if you want to be safe but you cannot make a blind longer after it has been manufactured.
Choosing the roll direction
An outside-mounted roller blind is always best made in the back-rolled position. Not sure what this means? A back-roll will roll towards the wall or window and drop down from underneath, close to the wall or window surface. If it’s front rolled, it will roll from the top over the front (find info on this in our Product Specifications here).
The reason we use a back-roll position for an outside-mounted roller blind is to bring the fabric closer to the window opening, reducing the light gaps and increasing the insulation benefits. This does leave the roll visible though and not everyone likes that look. Not to worry, you can add a Pelmet 95 and this will hide the visible roll. The pelmet works particularly well with square set windows as it frames the window where the architrave normally would.
Motorise your roller blinds
Motorisation is the cherry on top of your gorgeous clean-lined windows! There will be no chains hanging down, keeping your square-set windows nice and neat. At the touch of a button, all of your blinds can raise up or come down, or you can connect them to your home automation system and operate them via voice control.
Remembering these top tips will make measuring and installing your blinds that much easier:
Always use a steel tape measurer for accuracy. Make sure the tape measure is straight and tight when you take your measurements.
Always measure in millimetres (mm).
Remember to locate your studs, and measure from their location for a secure installation.
All blinds over 1800 mm wide should be ordered with a spring assist (for chain-driven operation). This will ensure your blinds glide smoothly up and down with minimal effort and will limit wear and tear on the components.
Consider finishing off your blind with a Pelmet 95. Not only will it look great, but it will also hide the tube, and stop dust from collecting on top of the blind.
What next?
If you’re in need of some inspiration, visit our gallery or Instagram page for ideas and real-life photos from our customers. Once you’ve decided which product you prefer, make use of our free fabric samples. They will allow you to see and feel the fabrics before selecting the one you like best.
So, if you’ve got a home that could benefit from a refresh, let us help you! The DIY process is easy to follow, and it will make a world of difference to your home, we promise.